Step Seven: Arcade Button Repair
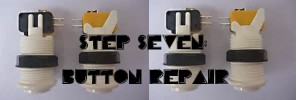
The Pacman start buttons are very simple and you can have them fixed in no time. The button itself, meaning what you see on top of the joy stick panel is obviously not the actual switch. The real switch lies underneath the joystick panel at the base of the button.
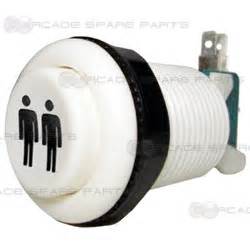 Where To Find A Replacement Button
First unplug the game and then open the coin door and feel for the two clasps on the right and left of the bottom side of the joystick panel. Refer to the manual on how to open the joystick panel.
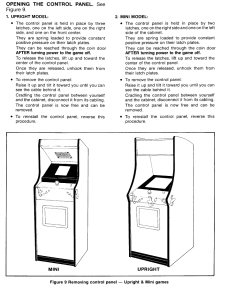
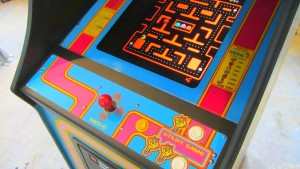
With the joystick panel open inspect the two start buttons and check to make sure the wires have not fallen off the micro switch or become unsoldered from the switch itself.
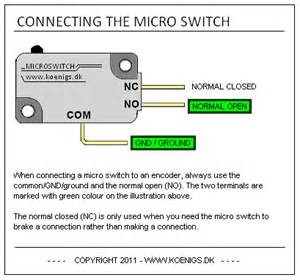
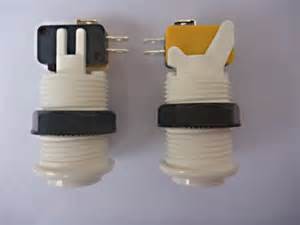
Re-solder the wires in their correct position; One to the “N.O.” (Normally Open) terminal and the other wire to the Neutral/Ground. The easiest way to test these switches is with an Ohm meter reader the same way you did with the fuses.
Set your meter reader to beep when the two metal ends of the OHM reader touch each other, or in other words check for continuity. Touch one end of your reader to the normally Open (N.O.) terminal and the other to the ground or neutral. If it beeps when your press the little red button on the micro switch then you have a GOOD switch, if it doesn’t then the switch is bad and just needs to be replaced. You might want to replace everything with two buttons.
Or you can replace just the micro switches.
Then solder the wires back on with the start Player one wiring going to the normally Open terminal and the ground going to the Neutral. Now pop the button back in place and everything should be good to go!
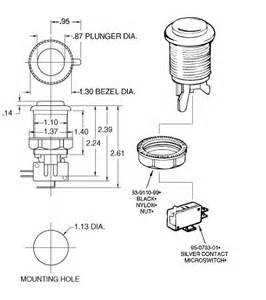
If not check the wires coming from the PCB board and make sure the correct wires are going to the right switch. For example, the Player one start wire should be coming from the player one pin of the wiring harness to the player one start switch.
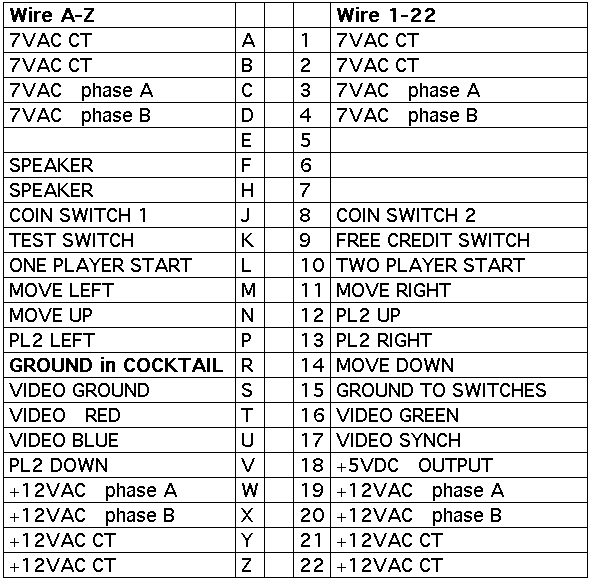
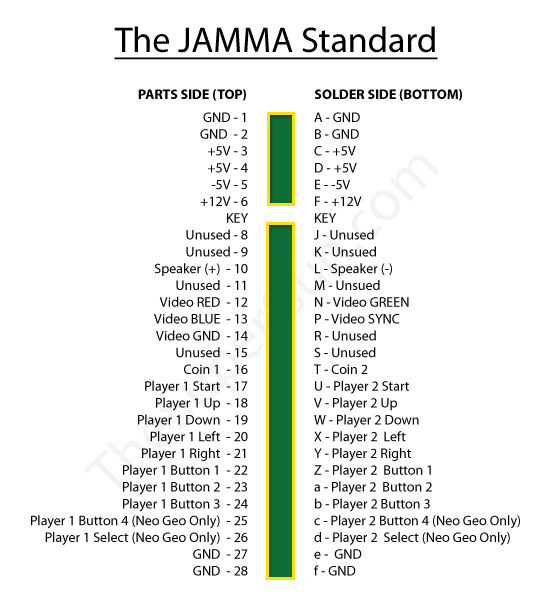
Jamma Pinouts are:
Return Home
Looking for hard to find Pac/Ms Pac parts for your game? Click here for our Parts for Repair Page
